Soak-Stain Experiments step 1
prepare the canvas
I have been saving an old canvas left over from one of my children's school reports for years, in case I ever had a project that needed a canvas...

so I repainted it a nice neutral color (Martha Stewart's Couscous) and am ready to pour paint à la Helen Frankenthaler!


Soak-Stain Experiments step 2
get it wet and go for it
In looking at the directions in the Art History Kids Helen Frankenthaler's Soak-Stain Art Technique blog post, I saw that she recommended spraying the canvas with water several times before beginning to add paint.
This is because Helen Frankenthaler actually used oil paint and a lot of thinner and we definitely aren't going to be doing that with children! So we have to give the paint an extra shot of "flow" in another way.
I did as suggested, and I also sprayed it throughout when a portion of paint went on extra thick. The paint I was using -- some beautiful Golden Fluid Acrylics that a painter friend donated years ago -- comes in various thicknesses, so I really never knew what I was going to get when I opened up a bottle.


When adding water, spray straight down from above and not from the side, or you'll leave spatters of paint everywhere and it will ruin the look.

I actually couldn't find a complete spray bottle so I just used an extra nozzle which I had lying around and put the end of it into what would normally be my clean rinse water jar! Worked fine.

I also noticed that the very last touch-ups of Couscous hadn't yet dried and so some of that paint lifted off and floated in along with the new colors. It is exciting, and pretty, to try this at home!

I mostly let the colors flow. I did try pushing a little sometimes with a plastic knife (which left a marbelized look) and with the end of the sponge brush I used for the Couscous.
Here are the Golden Fluid Acrylic colors I used:


I was so glad to finally have a project to use these beautiful colors! They have sat in my art room untouched for several years (they are recommended for ages 12 and up, so they live on a high shelf).
Pro Tip: Don't start with brown. I begn with a big squirt of Raw Sienna and it looked just like a pile of doggie doo on the canvas. Then I sprayed it with water so it splattered everywhere. That did NOT help.
Soak-Stain Experiments step 3
keep adding colors and enjoying the flow


Soak-Stain Experiments step 4
watch it change as it dries
This has got to be my favorite part!
I just did this painting about an hour ago, so it's FAR from dry, but you can see the canvas starting to peek through as the paint soaks in.


This is oodles of fun. Highly recommended!
Soak-Stain Experiments step 5
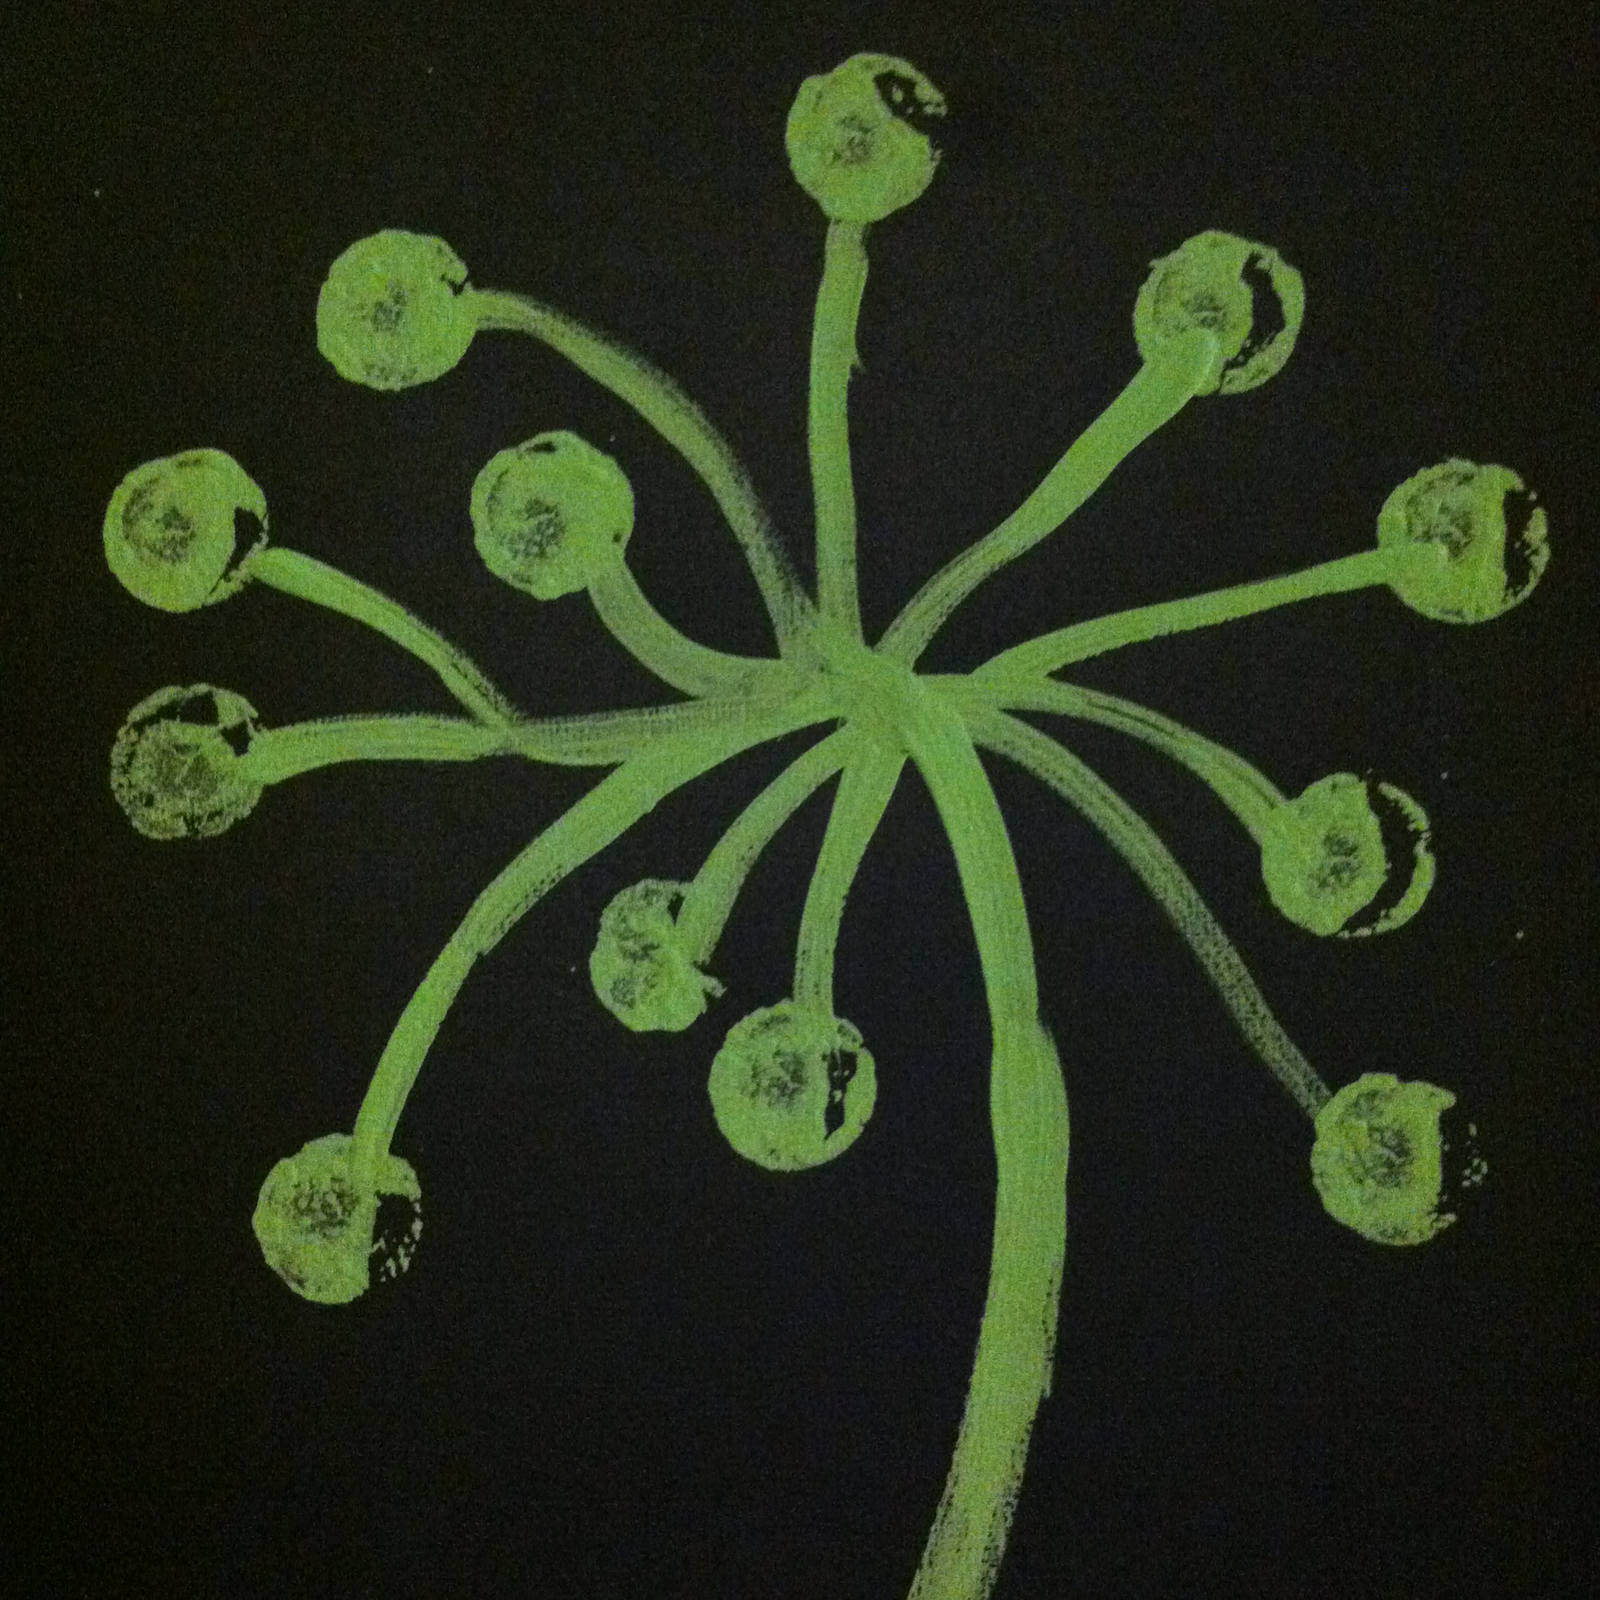
turn it and look at it from all directions
Ok, this is a blast. Am I the only one who thinks this looks like a Gulper Eel pursing a Deep Sea Diver?


I know this is overworked by Helen Frankenthaler's standards but this was just my first experiment with the techinque. There's lots I would do differently (more liquid in the paint, fewer colors, larger sweeping gestures, fewer interferences).
This is the best kind of art -- the kind that makes you think "I'm good at art" and "let's do that again!"
This post contains affiliate links to materials I truly use for homeschooling. Qualifying purchases provide me with revenue. Thank you for your support!


 Immersive Experience
 Immersive Experience
 Immersive Experience
No comments:
Post a Comment