Wednesday, November 18, 2009

Wet Felting Mice

Our school is donating a tree for the Hospice Festival of Trees and our theme is the Nutcracker so each classroom is making ornaments. Yesterday my students did the white wool angels from Making Magical Fairy-Tale Puppets for the Snow Fairies. Today we wet felted little mice. We are sewing thin pink felt tails on them tomorrow.

First I read a story with a mouse in it: The Story of Jumping Mouse. Then we modeled little mice out of modeling beeswax so that my students could get a sense of the shape. Then the felting began! I used a variegated grey, black, and white roving. I couldn't find a cheese grater so I simply peeled curls of soap into the bottom of each bowl with a vegetable peeler (and a plain Crabtree & Evelyn bar of bath soap) and then added hot water. The kids loved to swish the water around with their hands to dissolve the soap and make the bubbles. It also was a good introduction to the hot soapy water, minus wool, for people who had never done it before and wanted to go slowly. It helped them get over their apprehension.

Step 1 was to roll a piece of roving into a ball and felt it by rolling it back and forth and all around between your palms. This is hidden later and is just the foundation of the body so it is OK to make mistakes. This also helped with apprehension for newbie felters. Anything you end up with, be it a ball or a long stringy felted mess with some solid parts and some holes in it, will be fine because it gets hidden. And it gives the children a sense of just how quickly the wool felts (this particular kind). So they formed the dry roving into a ball and then dunked it in the hot soapy water and rubbed vigorously.

Step 2 was to lay loose strips of dry wool over the still-wet ball in all directions, wrapping it completely. Then hold the ball in one hand and with the other, scoop and gently sprinkle the ball with hot soapy water, and GENTLY pat the overlapping wool as it is moistened so that it felts securely all around your foundation ball but is not so hard that details can't be added. Next, pull the nose out a bit, tug on some ears, and flatten the bottom with the palm of your hand. Dip the mouse if you need to rewet it and shape it further. Finally, rinse it with cold water, squeeze out the excess, and set it on a drying rack (I use the cookie ones) to dry.


The (Traditional) 5 Senses

If you are a Waldorf person you know that Steiner identified way more than five senses, but today in my (traditional) class we did the traditional set of 5.

First we identified the 5 senses and made a chart naming them and identifying the organ of the body which receives sense signals for each and sends them to our brain (sight - eye, smell - nose, touch - skin, etc.)

As part of Taste, I passed out muffins and asked children to record in their Science journals what ingredients they thought were in them.

As part of Smell, I passed around 12 jars of herbs and spices and had the children describe their smell (wasabi powder, whole cloves, coriander seed, celery seed, whole red chilies, fennel seed, crushed rosemary, ground allspice, etc.) I tried to present a variety of scents. For spices that were whole, I gave the children the option of using our classroom mortar and pestle to grind them later in the day.

Tomorrow we are discovering the different clusters of taste buds on the tongue. I have watermelon for sweet and chips for salty. I have pure sea salt also, since we discussed how people pan for salt; it is one of the only spices that does not come from a plant. I brought lemonade mix so we can see how sweet and tart come together to make a pleasant taste.

Online lesson plans from Australia: Making Sense of Food (includes a diagram of areas of the tongue)

Next topic is Nutrition: specifically, the role of fats, proteins, and carbohydrates in the body, which food groups provide which nutrients, the Food Pyramid, and how to read the nutrition information on the side of prepared or packaged foods to determine the serving size. I brought a package of brownie mix (each brownie contains 10 grams of sugar) and a bag of sugar and we will measure out 10 grams on the balance to see just how much sugar is in ONE.

Monday we will be baking for the Thanksgiving Feast. Tuesday is the feast and a half day of school and the rest of the week is our Thanksgiving vacation!

Monday, November 16, 2009

Yoga in the Classroom

We are using this great 4 DVD set in our school called "Get Ready to Learn" (also known as GRTL). Unfortunately, you can only get the DVDs if you attend the training. But this program was piloted in NYC schools with special needs kids and the folks who measure these things observed a measurable increase in student attention spans and in their academic achievement. The yoga was done EVERY morning to help kids prepare their brains for learning. They had to call it movement instead of yoga but it's yoga all the same. Duh. The tapes are neat, though, and one of them is done completely in the chair in case you don't have room to set down mats.

Great resource if it happens to come to a theater near you.

Sunday, November 15, 2009

Stories of the Pilgrims by Margaret Pumphrey

This is an EXCELLENT book which we read at Tidewater every year. This year my daughter Leah picked "Elizabeth Tilley" as her Pilgrim name and is waiting eagerly during read aloud time to hear her name come up in the story. It is filled with true anecdotes so if your ancestor came over on the Mayflower you should expect to hear his/her name mentioned!

Available FREE through The Baldwin Project!

Cross Stitch Graph Paper

Free Cross Stitch Graph Paper for Fourth Grade

Friday, November 13, 2009

Animal Skeletons & What Does a Million Look Like?

I just found a great book called Skeletons: An Inside Look at Animals. It's fantastic!!!! My students especially love the box on each page showing a drawing of the animal with a human drawing placed alongside for scale. This is the best book I've ever seen on animal skeletons. Unfortunately, I can't find any pictures of it online so you're just going to have to take my word for it. :-)

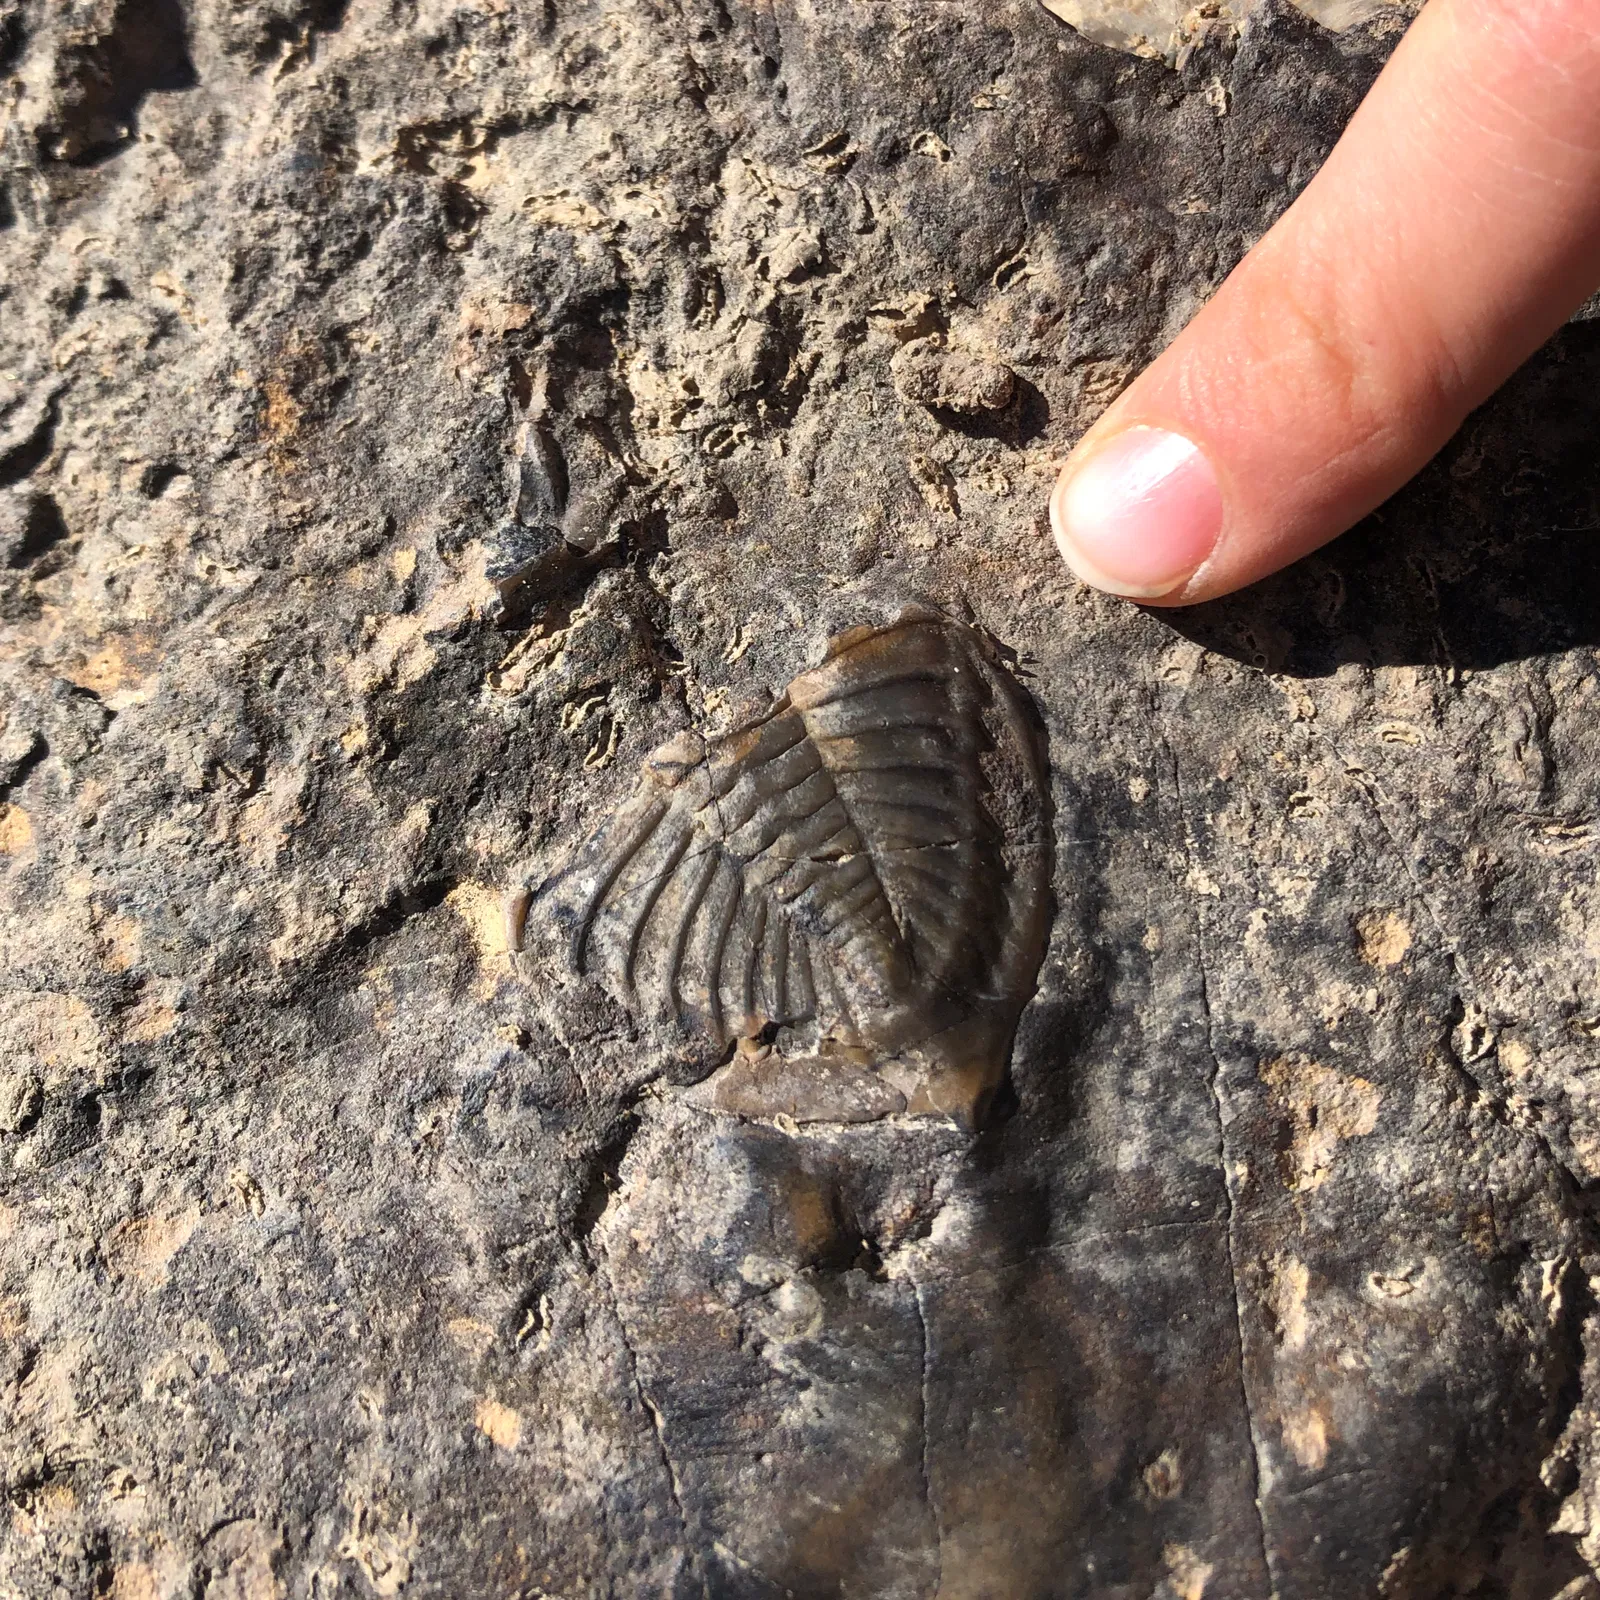
I gave a lesson on the Wooden Hierarchical Material today (a unit cube and then -- to scale -- a ten bar, a hundred square, a thousand cube, a ten thousand bar, a hundred thousand square, and a million cube). We used the million cube to look back at how long ago the dinosaurs lived (if this tiny cube is one year and this gigantic cube is one million years, the dinosaurs lived...), how long ago the trilobites lived, and how long ago the Earth was formed. It was an amazing discussion. The Wooden Hierarchical material is pricey and it wouldn't be a good investment for a homeschooler but it is an amazing thing to SEE a million.

Another -- less expensive -- way to SEE a million is A Million Dotsby Andrew Clements. I highly recommend this book for any classroom.


Thursday, November 12, 2009

Finger Knitting & Stamp Game

We are warming up to teaching knitting in my 1st/2nd grade class. I began with finger knitting and this week we made our knitting needles (the easiest place to buy dowels for this is in the cake decorating section of Michaels, A.C. Moore, WalMart, etc. because Wilton sells them in the perfect diameter and length).

My class adores finger knitting and we have decided to try to finger knit a mile! That's 5280 feet. Each day we measure our finger knitting before we begin and again after we are done. When a ball of yarn is used up, the final length is measured and recorded and added to the previous total.

The Montessori Stamp Game material is what we use for the addition. It's a great way to get in daily practice with measurement as well as adding larger numbers.


By the way, I've been making notes on the Montessori materials that I think are really excellent and would purchase for my own use, even if not teaching in that type of school. This is one! It's inexpensive and very flexible. I think it is the best material I have ever seen for teaching dynamic addition and subtraction (carrying and borrowing), very hands on and active, and it makes SENSE.