Saturday, March 26, 2022

Science Club - The Leaning Tower of Pisa

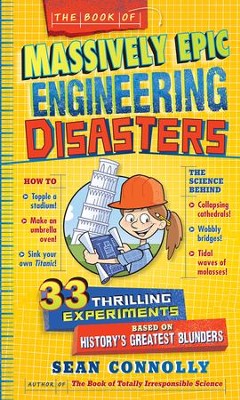
Today was our third session of Science Club! Topic:


The Book of Massively Epic Engineering Disasters:
33 Thrilling Experiments Based on History's Greatest Blunders

by Sean Connolly


I wrote a blog post previously with my planning notes when doing this block on Zoom. Now I get to do it IRL with a group of students!

For each disaster I'll share my up-to-date notes and some photos. Today we learned about The Leaning Tower of Pisa (1173) and Galileo Galilei (1589).


- recall last week's disaster (Fidenae Stadium)


- read "The Leaning Tower of Pisa" information from The Book of Massively Epic Engineering Disasters, pp. 29-33


- do experiment #5 "Will It Tip?"

    for each child:

    an empty 12 oz soda can

    water

    a level surface (tabletop, floor, etc.)


You probably also want to have on hand a roll of paper towels, just in case. As I so cleverly accidentally discovered today, this experiment does not work with a 7.5 oz can... and it was interesting for us to hypothesize why! The proportions of it are quite different from those of a 12 oz. can.

I also thought of another fun thing to do. When I was chatting with them and explaining center of mass, I balanced a gel pen on my fingertip by moving the location of the pen in relation to my finger. But would it be possible to not move my finger and instead use clay to add mass to different areas of the pen until it balanced?

That would be more like what they had to do with the Tower of Pisa, since you can't easily relocate a building like you can move a pen about.


- read "Seeing Isn't Believing" information about Galileo Galilei from Mathematicians Are People, Too: Stories from the Lives of Great Mathematicians by Luetta and Wilbert Reimer, pp. 45-49


- do Showing Science: Watch Objects in Free Fall experiment from Scientific American

trial 1: golf ball, plastic perforated practice golf ball

these balls are the exact same size but different masses... but the wind blew through the holes in the plastic perforated practice ball and pushed it sideways and slowed it down (next time, I will get a foam practice golf ball)

trial 2: golf ball, basketball

the children really wanted try this again with a large ball and a small ball... unfortunately, I didn't have two balls of different sizes but the same mass... and they also did not hit the ground at the same time


- recall that Galileo devised his famous Leaning Tower of Pisa experiment after making observations about pendulums (a pendulum with a larger weight does NOT swing faster than a pendulum with a smaller weight)


- do some pendulum explorations

    for each team (set up two):

    ball of string

    scissors

    S-hook

    lots of metal washers of different sizes

    stopwatch that measures fractions of a second

    piece of chalk & stepstool (if using a chalkboard)


    optional: a balance (which the teams can share) to measure the mass


The last time we did this was back in 2017!

Again, I taped a stick to the top of my chalkboard and had the children use it. This time we had teams working on either side of the chalkboard. A chalkboard is nice for this because it can hold your data table PLUS you can simply put a tickmark with chalk on it at the place where you are letting the pendulum go!

They found, just as Galileo discovered, that the only thing that makes a difference is the length of the string.

different masses
releasing the pendulum from different points
one team made their string shorter
the other team made their string longer


I think that because it is easier to see that a heavier weight does not fall faster in the pendulum experiment that it is better to do with kids than the "dropping two things out the window" experiment. However, dropping two things out the window is extremely fun! Maybe next time I will try a raw egg and a wooden egg... or a plastic egg... or I could needle felt a wool egg.


this is the time of year to buy fake eggs!


Actually, plastic Easter eggs would probably be the very best idea because you could have the children fill them with different things to create different weights. Then tape or glue them closed. That would be very exciting. I do recommend taking the video of the items hitting the ground, as it is very hard to tell with the naked eye. Today I thought the basketball hit first, but that was because the golf ball was already bouncing back up into the air by the time the basketball arrived at the ground.


- pass out Science Club notebooks, have each child draw and write notes about his/her favorite experiment or about the disaster itself


This post contains affiliate links to materials I truly use for homeschooling. Qualifying purchases provide me with revenue. Thank you for your support!

Monday, March 21, 2022

If We Had Chicks...

Happy Spring to everyone!

In the past few years, since I moved here to Illinois, we have done ladybug, monarch caterpillar/butterfly, and tadpole/frog metamorphosis. But one thing I haven't been able to do, since I was a classroom teacher at a school with an incubator, is raise our own baby chicks. I'm feeling very baby chick-ish, so until I save up enough money to get a HovaBator incubator, I will just content myself with keeping a list of resources here.


HovaBator Ultimate Egg Incubator Combo Kit

on my classroom wishlist


Learning Resources Chick Life Cycle Exploration Set

(I already got this, just in case...)


The Egg: A First Discovery Book

I love the transparencies in this book


Parts of an Egg Coloring Sheet (PDF)
from Nova Natural


Hatching Chick Surprise Card (PDF)
from Nova Natural
This would be perfect for kids to make on the day the first chick hatches out, to tell their parents the good news


I do know several people who keep chickens, so perhaps I should ask around to see if anyone would be willing to lend me their incubator. I remember when I was at Tidewater that we lent ours to Fairhaven, another tiny private school of less than 40 children, because they didn't have the budget for one. And friends help friends!


This post contains affiliate links to materials I truly use for homeschooling. Qualifying purchases provide me with revenue. Thank you for your support!

Saturday, March 19, 2022

Science Club - Fidenae Stadium

Today was our second session of Science Club! Topic:


The Book of Massively Epic Engineering Disasters:
33 Thrilling Experiments Based on History's Greatest Blunders

by Sean Connolly


I wrote a blog post previously with my planning notes when doing this block on Zoom. Now I get to do it IRL with a group of students!

For each disaster I'll share my up-to-date notes and some photos. Today we learned about the deadly collapse of Fidenae Stadium (Ancient Rome, 27 CE)


- recall last week's disaster (The Colossus of Rhodes), test remaining designs


- discuss some of the engineering marvels the Romans were known for (roads, baths, arches, aquaducts, ampitheatres, etc.)


- read "Fidenae Stadium Collapses" information from The Book of Massively Epic Engineering Disasters, pp. 15-19


- do experiment #3 "From the Ground Up"

    for each team (set up three):

    three chopsticks

    Plastilina

    bucket filled nearly to the top with sand (?)

    Trake

    ruler

    six paperback books


This experiment has been challenging for me both times I've tried it. I would love to find a combination of materials that is more successful!

It calls for chopsticks. Both times I've used 1/4 inch bamboo dowels for knitting needles instead; perhaps chopsticks would be better because they are shorter (21 cm, 23 cm, 25 cm) and flare out a little at the bottom.

It calls for sand. I used sand the first time but substituted potting soil the second time because you have to pour the sand when you create the different foundation depths, and it's not good for children to inhale the dust from playground sand. So this one has me stumped. Is the sand important? Or does he just recommend sand because it's inexpensive? Is there a reason why you couldn't just do this experiment outside on/in the real ground?

It calls for modeling clay or play dough. We've tried play dough (too soft) and modeling beeswax (takes too long to warm up on a cold day). Plastilina turns out to be the best thing! It's strong but pliable at any temperature.

We have only been able to get it to support the weight of one book but given that the experiment calls for six paperback books or more, I am certain that there is more I can do to make this experiment a success. It was cool to see it twirl before it fell, though, since the children weren't expecting that!

One student suggested doing this experiment in reverse. Begin with the sticks buried deep and see how many books they will hold, then work your way up closer and closer to the surface and watch the number decrease. I think that's a really good idea!


- do experiment #4 "Weighing the Possibilities"

    for each team (set up three):

    6 sheets of computer paper

    tape dispenser

    sharp pencil

    Styrofoam coffee cup

    small ball of string

    pair of scissors

    ruler

    2 large paper clips

    2 identical card table chairs

    weights (pennies, marbles, glass gems, etc.)

note: before doing this experiment, it helps to have the team define "buckle"

important! whatever your definition of "buckle" is, it must stay consistent throughout the three rounds of the experiment


- pass out Science Club notebooks, have each child draw and write notes about his/her favorite experiment or about the disaster itself


I was so busy helping the teams with supplies and designs, and keeping track of everyone's data on the chalkboard, I forgot to take pictures of them working on their experiments! Oops! But we all had a great time. Next week: The Leaning Tower of Pisa!


This post contains affiliate links to materials I truly use for homeschooling. Qualifying purchases provide me with revenue. Thank you for your support!

Monday, March 14, 2022

Ocean Anatomy by Julia Rothman


Ocean Anatomy: The Curious Parts & Pieces of the World Under the Sea

by Julia Rothman


I've taught the Ocean before as an Ecology block and in Science Club, but this time we are doing something new! I got each child a copy of Julia Rothman's wonderful Ocean book, and a special MLB called a middle school main lesson book. It alternates between lined pages and blank pages. My three Upper Elementary students (in Montessori this is ages 9-12) are doing a self-directed Ocean block where they get to use Julia Rothman's book as a resource, create their compositions about whatever portions of her book interest them the most, and do the art in whatever style interests them the most and makes sense for the given topic. My job will be to edit their rough drafts and to provide tutorials on the MANY art supplies in our Art Room! Besides that, the book is their very own creation.

They began with just colored pencils (Lyra Super Ferby and Prismacolor).

They are super-excited to have this freedom and to be trusted with each art supply as I "unlock" it (as one child called it). In Sudbury schools, this process is called certification. You get certified to use any area, piece of equipment, or educational material that requires a certain level of care and maturity. You have to re-certify at a given interval, and you can lose the certification if you do not show the appropriate care for the material. Sudbury schools and Montessori schools both operate under the principle of "freedom with responsibility."

It is interesting to see how much video game jargon has entered into everyday speech for the current generation. They like to "level up" in the difficulty of their work. And they are now looking forward to have me "unlock" new art supplies for them to use!

Note: For the next three weeks, the three First Graders will be doing their Waldorf Math Gnomes block. So they are very excited as well!


Monday, Mar 14
watercolor paper, paints, brushes, painting boards, masking tape

To kick off this topic, we did a mystery painting. This is a lesson I learned about from an art teacher in Hawai'i. You have the children paint the picture sideways so that they don't know what it is. When they rotate it, it becomes a landscape with mountains and a lake. Great fun... and it also could work for the MLB if they wanted to talk about the water cycle. All of the water on our planet was in the Ocean or will be in the Ocean at some point in time!


To help them be able to work more independently, I purchased some pre-cut watercolor paper. It's all Strathmore 140 lb cold press.


Tuesday, Mar 15
assorted papers for collage, other textures (burlap & cork), glues

Today we talked about cut paper collage! We have so many texture options: construction paper, cardstock, handmade paper, decorative scrapbooking papers, and sheets of burlap and cork. We have glue sticks and liquid glue as adhesives (rubber cement must only be used with an adult present). I shared some picture book artists for inspiration (Steve Jenkins, Eric Carle) and Collage Workshop for Kids: Rip, snip, cut, and create with inspiration from The Eric Carle Museum by Shannon Merenstein.


Wednesday, Mar 16
chalk pastels, sponge applicators, hair spray, dry media paper (newsprint, drawing paper, pastel paper), adhesives, envelopes

Today they asked me to unlock chalk pastels. Chalk pastels are wonderful for blending and for any animal where you want to show gradations of color. We went over the kinds of dry media paper that work well for pastel, applicators, hairspray, and adhesives (3D foam squares, mounting squares). While we were on the subject of adhesives I also suggested that sometimes you may want to put an envelope in your MLB with something in it for the reader to discover. I was thinking about a string that was the length of some animal, so that the reader could take out the string and stretch it out, but one child thought of using the envelope to house a fun fact about the vampire squid!


Thursday, Mar 17
light box, transparency film, heavy vellum, tracing paper


Tuesday, Mar 22
acrylic paints (+ brushes and paint palettes), 6" square and 8" circle Gelli printing plates (+ brayer, cotton swabs, texture scrapers, sheets of wax paper, baby wipes), Tulip dimensional glow in the dark paint, fingertip texure stampers, assorted other materials for texture stamping (wooden spools, wine corks, acorn caps, lotus pods, etc.)


Wednesday, Mar 23
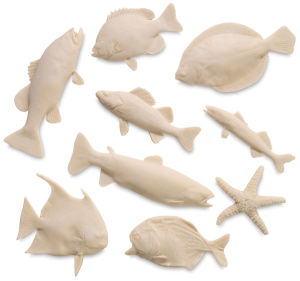
Daler-Rowney Acrylic Ink and Gyotaku Fish Printing Set, India ink

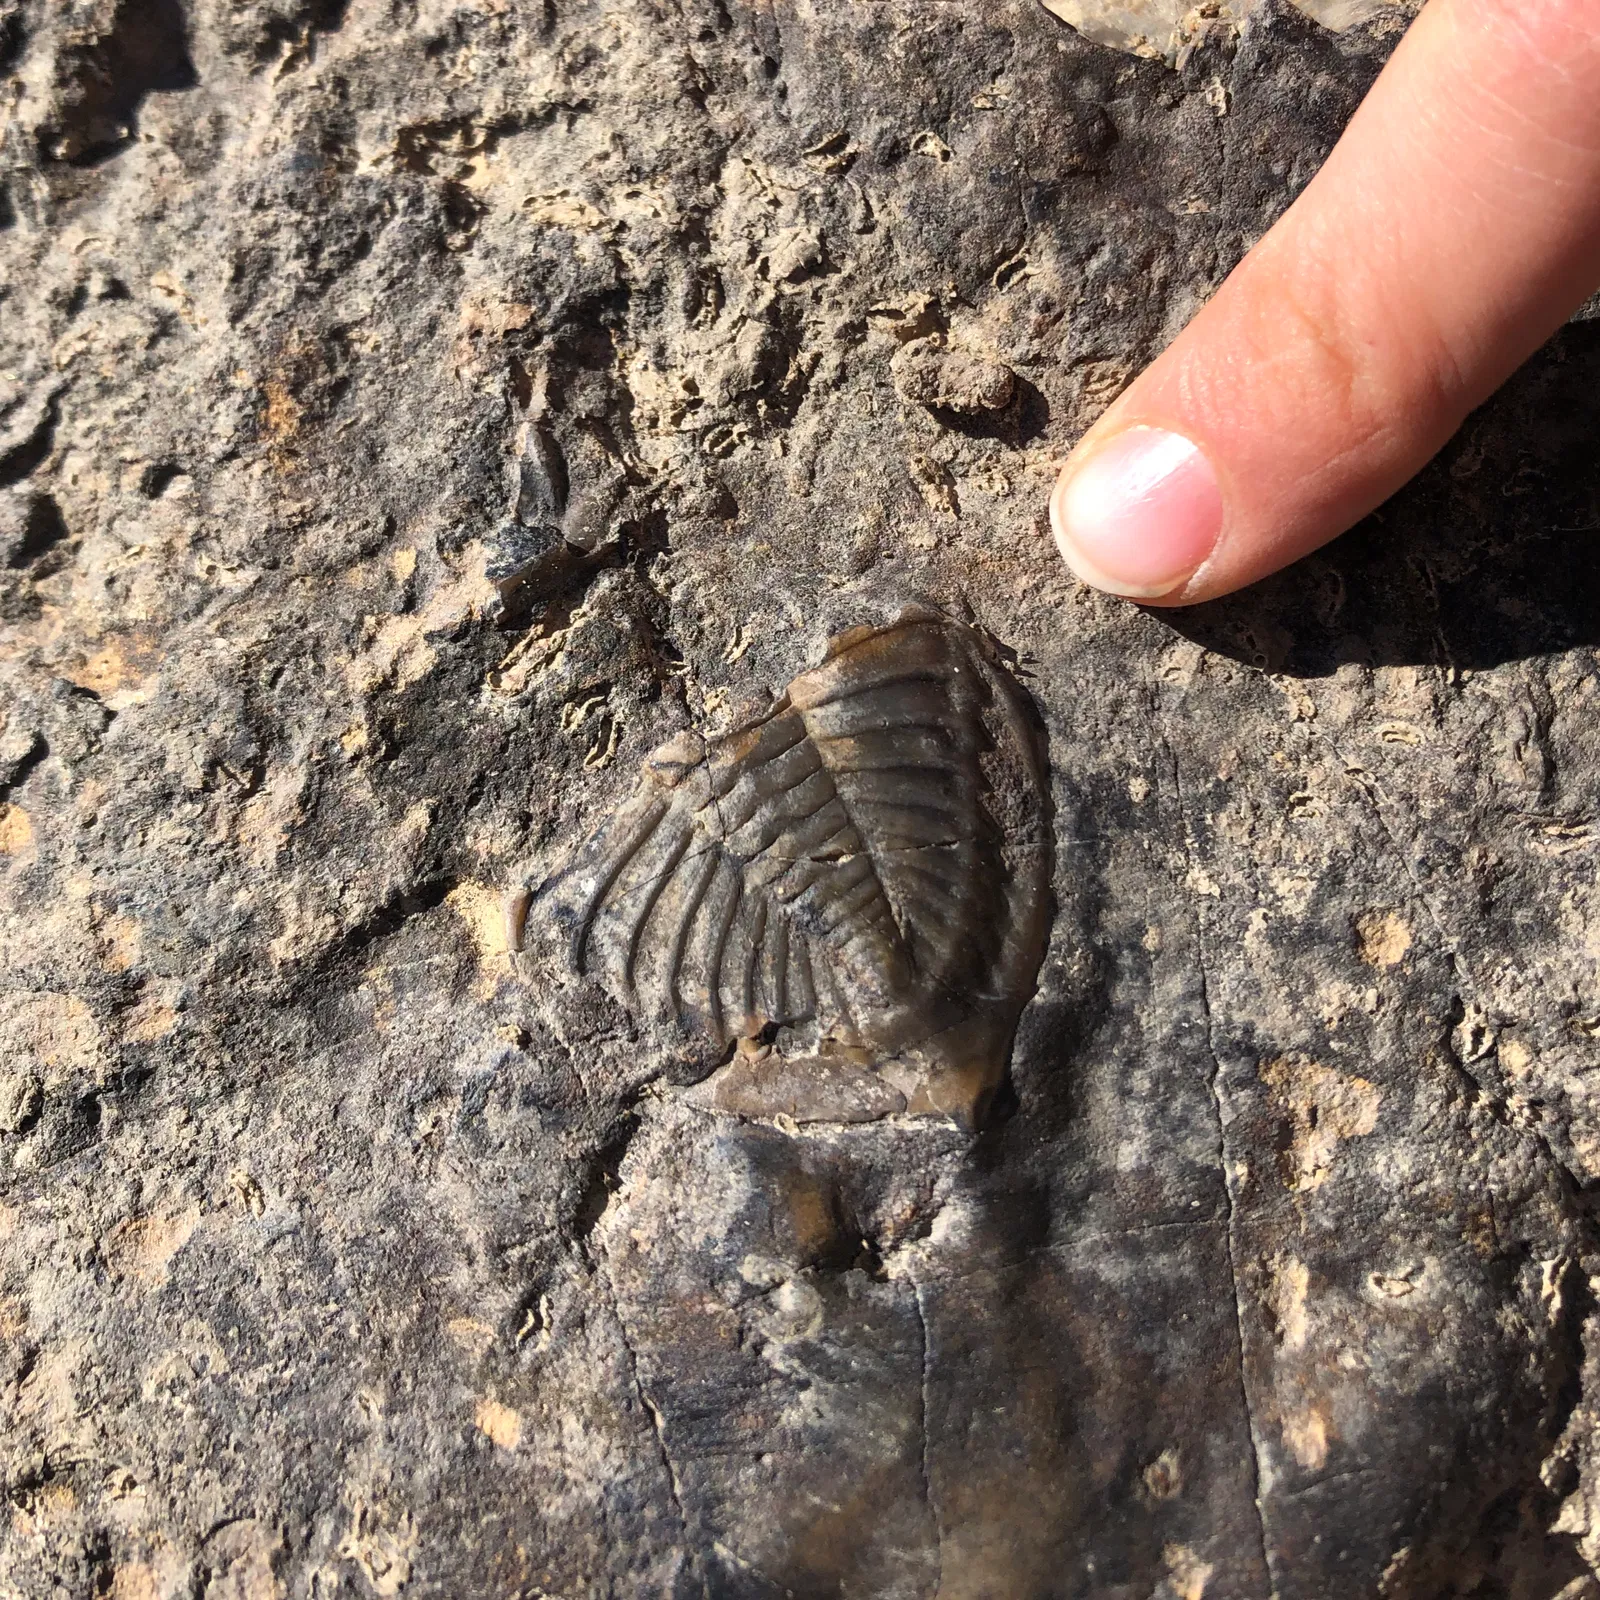
We also did a refresher on the black glue (dyed with India ink) and chalk pastel art technique. It takes two days but it's absolutely lovely. We've used this in the past for Georgia O'Keeffe inspired flowers and for trilobites.


Thursday, Mar 24
oil pastels, water-soluble oil pastels, Gelatos, watercolor pencils

We also did a refresher on the scratch art technique, where you cover the page with oil pastel and then apply two coats of black acrylic paint with a foam brush. Use a stylus to scratch away parts of the paint and reveal the color. I think this would be amazing for Ocean artwork about the Deep!


Monday, Apr 4
rubber stamps (both wooden and acrylic block), ink pads, reinkers, stamp cleaner, stencils


Wednesday, Apr 6
rubbing alcohol on watercolor technique


I'll keep updating my notes as we go through this block!


This post contains affiliate links to materials I truly use for homeschooling. Qualifying purchases provide me with revenue. Thank you for your support!