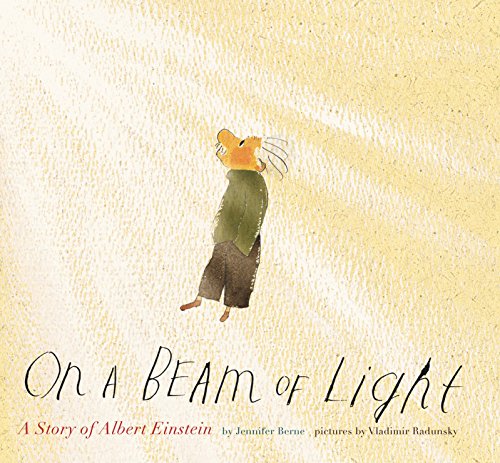
Another nice connection is On a Beam of Light: A Story of Albert Einstein by Jennifer Berne. When he was five, Einstein's compass was his favorite toy!
"Making a Floating Compass" is Activity 9 for Grade 6 "The Properties of Magnetism" in Roberto Trostli's Physics is Fun! A Sourcebook for Teachers.
Materials:
- a strong magnet
a large needle or piece of hard steel, such as part of a hacksaw blade
(I use old felting needles that have gotten bent, rusty, or broken)

a piece of styrofoam or balsa wood OR a soda straw and some wax
(I use a soda straw and old bits of modeling beeswax)

a large bowl
water
Procedure:
-
Magnetize the needle (or the piece of steel) using the strong magnet by repeatedly stroking the needle over one of the poles of the magnet, making sure always to move in the same direction. Twenty to thirty passes should magnetize the needle adequately.
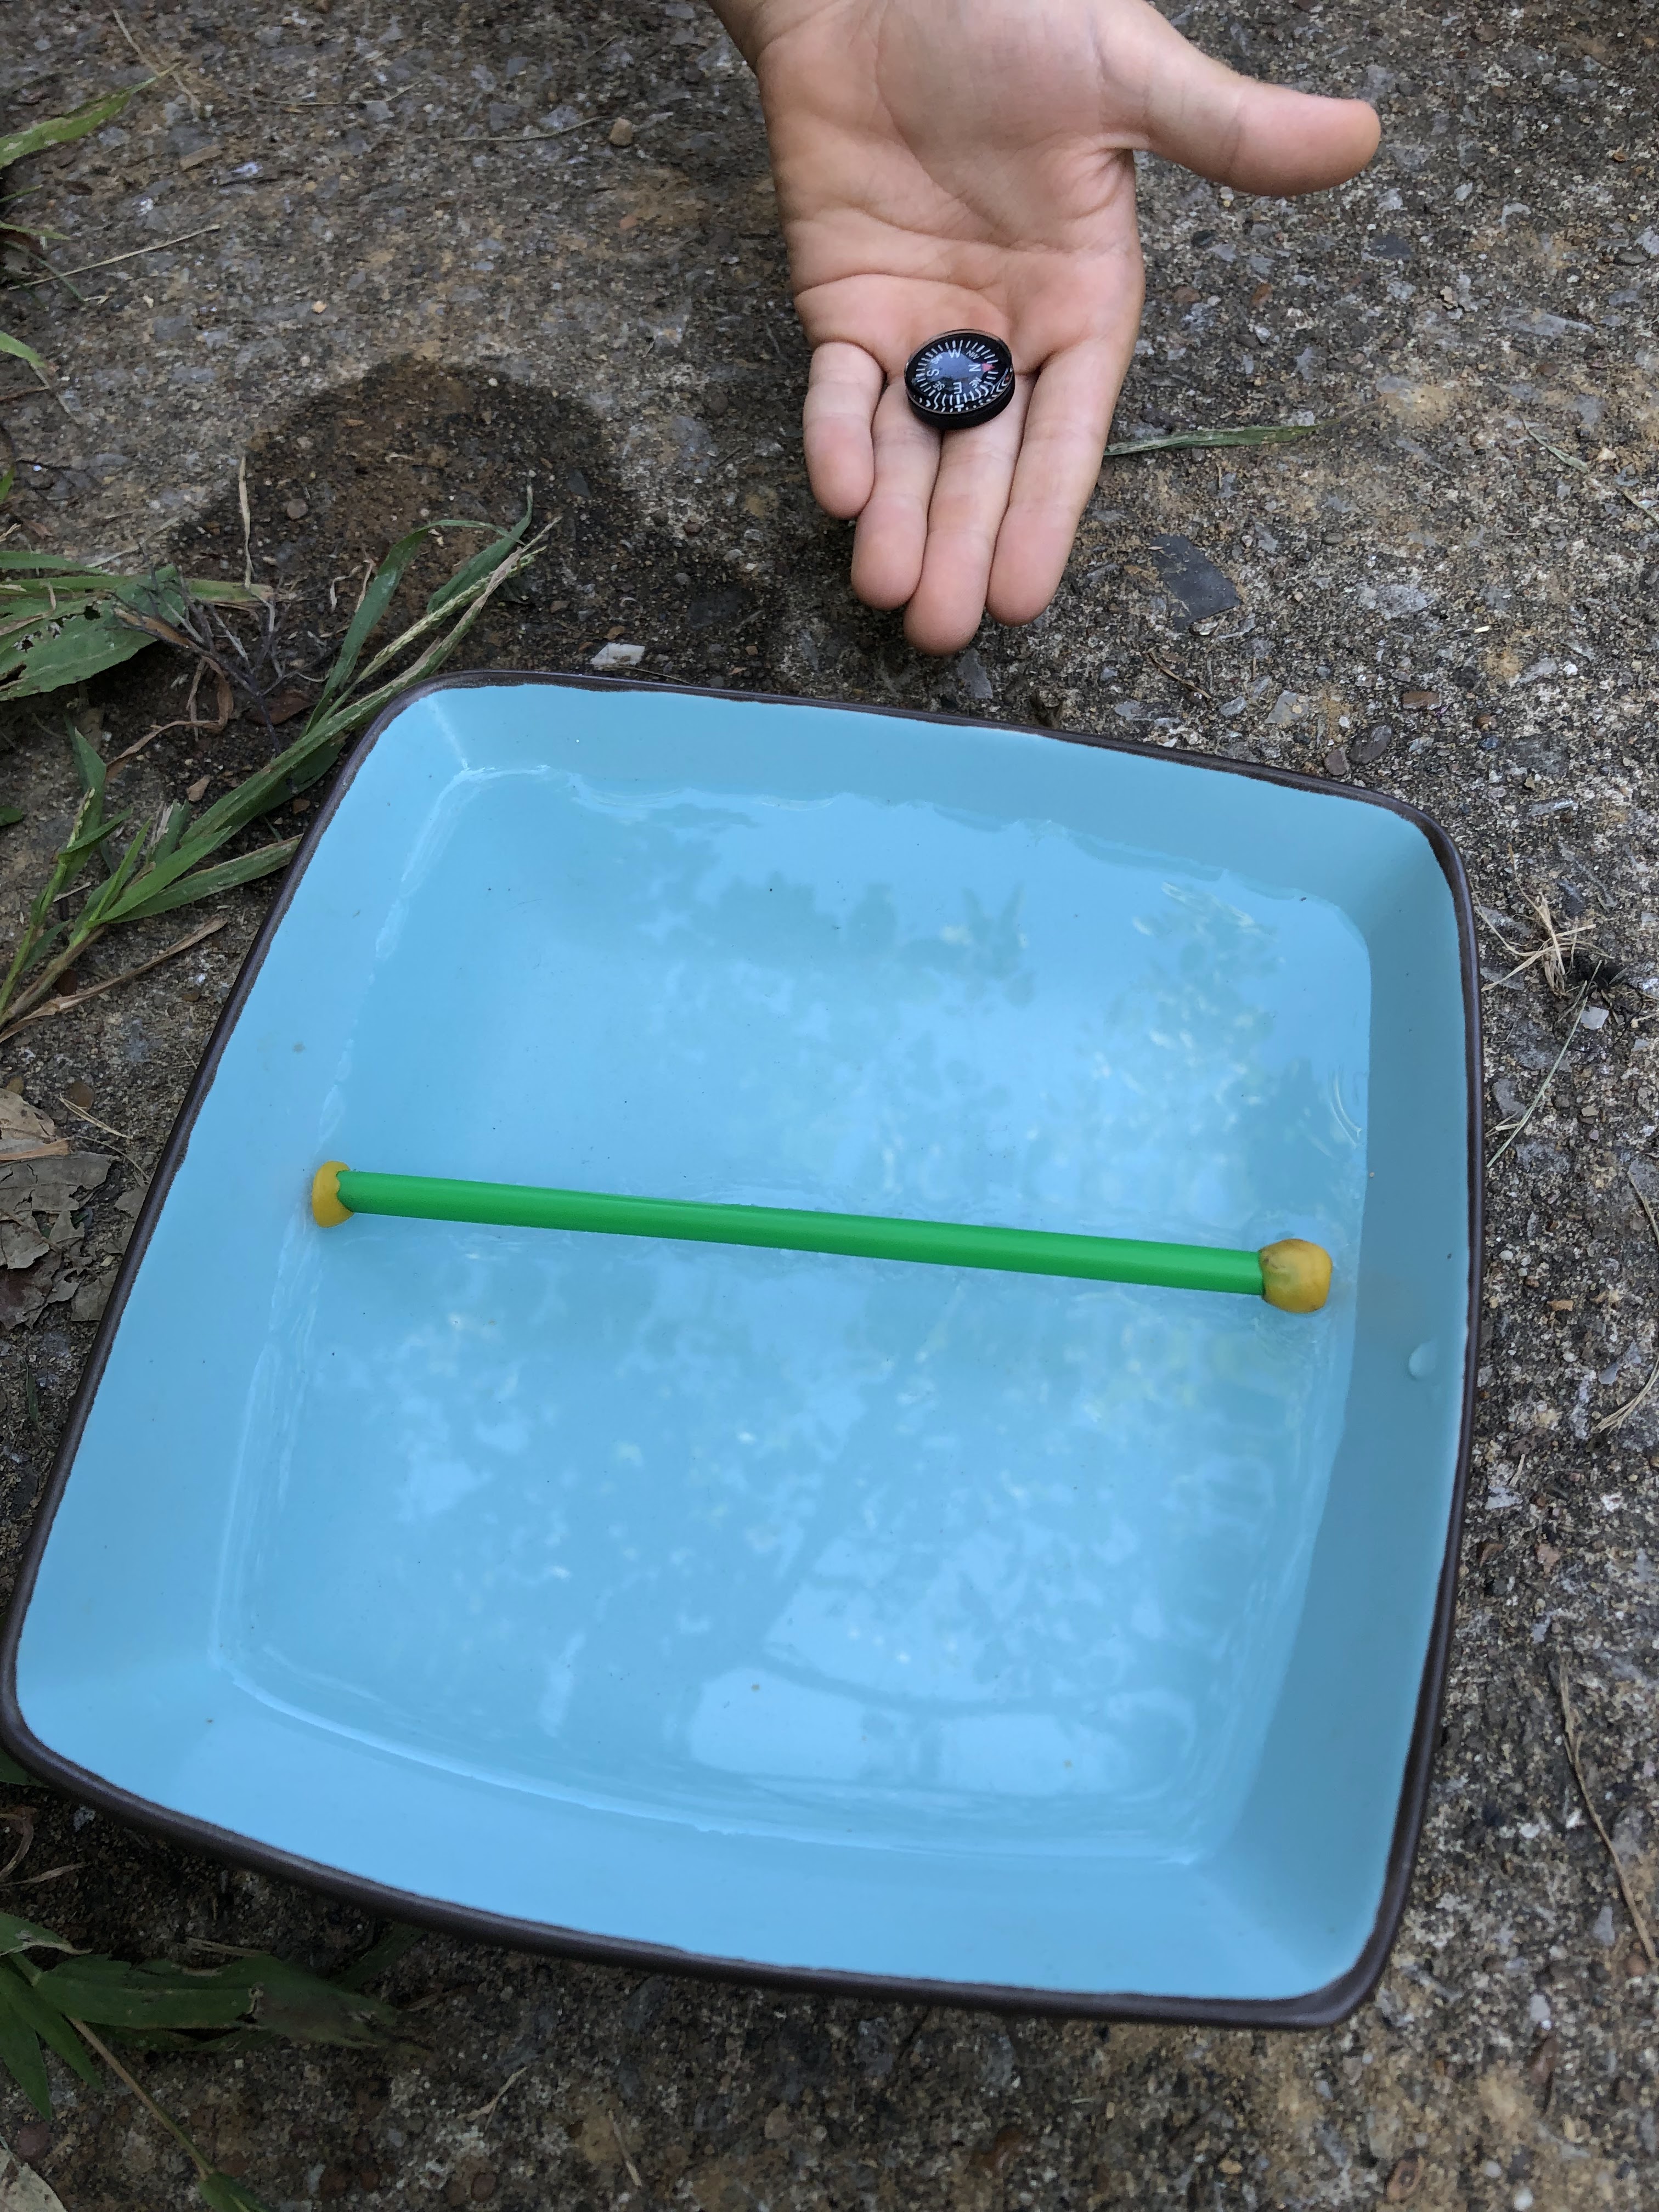
Place the magnetized steel on the styrofoam or piece of balsa wood. Or, if a needle is used, it can also be inserted in a soda straw whose ends are plugged by wax. The plugged straw will float and turn as it orients itself to the north.
In my experience, the straw will rotate and go past north and then turn back. After the straw stops moving, we get out a compass and check it.
This is a simple and dramatic experiment which kids love!
Comments:
-
I keep a "Floating Compasss Kit" in my teacher supplies at all times (bowl, straws, needles, and beeswax). I originally kept a compass in the kit as well but I stopped because this ruined it! Being by the magnetized metal over time will cause a compass to stop working.
If you are going to have your child magnetize the needle, a nice way to demonstrate the process first is to magnetize a pair of scissors. I do this by having a pair of scissors and a pile of paper clips. First, place a paper clip on the ground and try to pick it up by touching the tip of the non-magnetized scissors to it. Demonstrate that it will not attract. Then stroke one of scissor blades repeatedly along the magnet as described, and try to pick up the paper clip. It will work!
This experiment is "Temporary Magnets" from pages 66-67 of Awesome Physics Experiments for Kids: 40 Fun Science Projects and Why They Work by Erica Colón.

 illustration on page 66
 She writes, "Temporary magnets show signs of magnetism only when exposed to strong magnetic fields. By running the magnet in one direction down the scissor blade, you align the molecules (magnetic domain) in the scissors in such a way that one end is acting like the north end of the magnet while the other is acting like the south end, making them a temporary magnet. When you drop the scissors a few times, you jumble up the molecules again, causing the scissors to lose their magnetic properties."
Note: We have tried dropping the scissors to de-magnetize them but it doesn't seem to work. And that's why the steel piece will ruin your compass if the two of them are stored together. It stays a magnet!
This post contains affiliate links to materials I truly use for homeschooling. Qualifying purchases provide me with revenue. Thank you for your support!


 Immersive Experience
 Immersive Experience
 Immersive Experience


No comments:
Post a Comment